The blockchain world is buzzing as Solana cements its position among top networks, offering lightning-fast transactions and rock-bottom fees.
Yet, many investors hesitate to explore its ecosystem, fearing the complexity of moving assets across chains. Here’s how to bridge to Solana seamlessly and why it’s worth the effort.
Why Solana? Speed, Fees, and Growth
Solana’s rise isn’t just hype. Its network processes 65,000 transactions per second, dwarfing Ethereum’s 15-30, while fees hover near $0.001. Decentralised apps (DApps) like Raydium and Magic Eden thrive on their infrastructure. But first, users must bridge assets like ETH or USDC to Solana.
“Bridging unlocks Solana’s DeFi, NFTs, and staking opportunities,” says blockchain analyst Jane Doe. “It’s the golden ticket to diversifying your crypto portfolio.”
What Exactly Is a Solana Bridge?
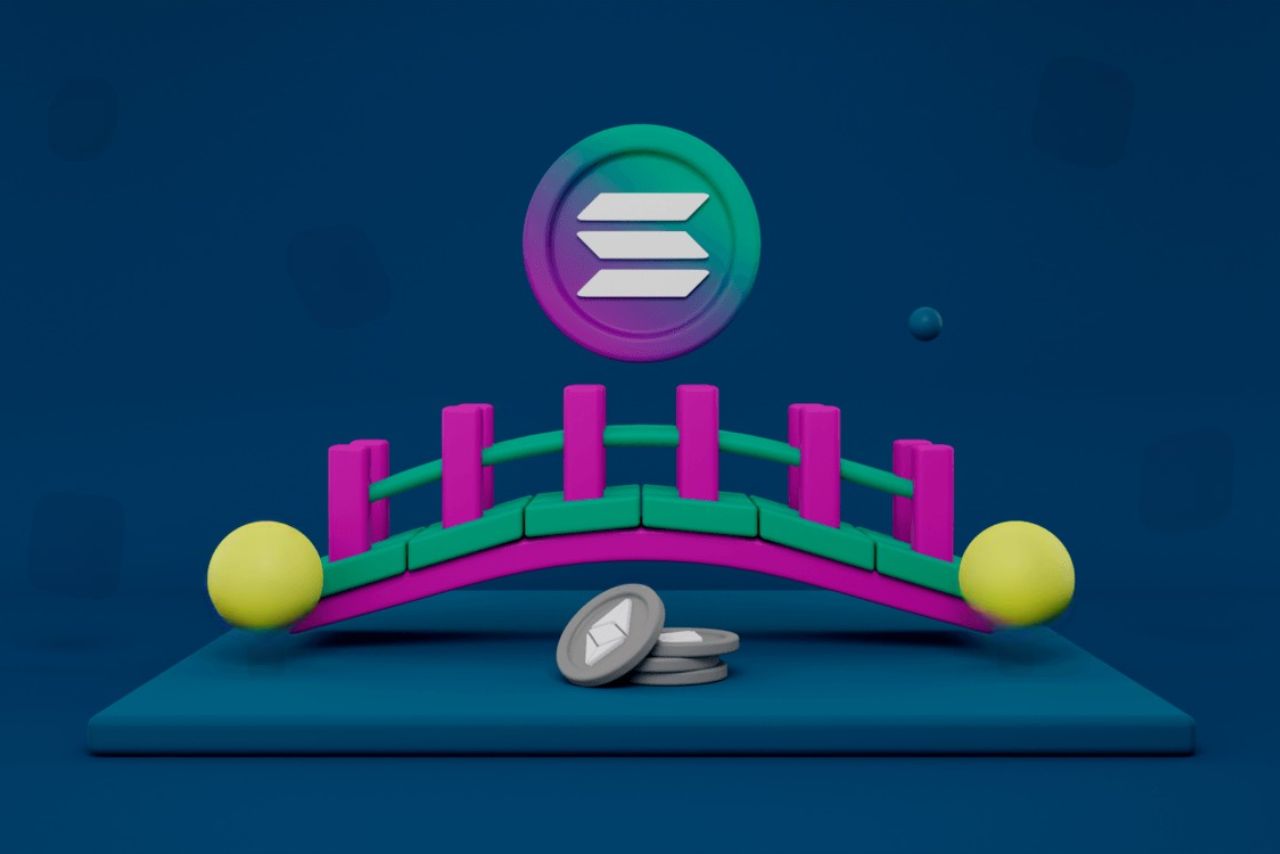
Imagine a crypto bridge as a translator between blockchains. These tools lock assets on one chain (like Ethereum) and mint equivalent tokens on Solana. For instance, sending ETH via Wormhole creates “wrapped ETH” usable in Solana’s ecosystem.
Conversely, burning the wrapped ETH releases the original asset back. This “lock and mint” system powers seamless transfers. However, not all bridges are equal. Decentralised options like Portal prioritise user control, while centralised exchanges (CEXs) like Binance simplify the process for beginners.
Preparing Your Toolkit: Wallets and Funds
Before bridging, gather two essentials: a source wallet (e.g., MetaMask for Ethereum) and a Solana-compatible wallet like Phantom. Ensure both hold enough crypto for gas fees like SOL for Solana and ETH or BNB for source chains.
Pro tip: Fund your Solana wallet with 0.01 SOL ($1.50) upfront. This covers transaction fees, preventing hiccups mid-transfer.
Step-by-Step: Bridging via Decentralised Bridges
- Choose Your Bridge: Opt for trusted platforms like Portal (Wormhole) or Allbridge.
- Connect Wallets: Link both source and Solana wallets to the bridge’s interface.
- Select Assets: Pick tokens like USDC or ETH. Confirm the amount.
- Confirm Chains: Designate Solana as the destination.
- Approve Fees: Pay gas fees (often $5-$10 on Ethereum).
- Transfer and Wait: Transactions finalise in minutes.
Portal’s interface simplifies this. After connecting wallets, users click “Bridge” and approve two transactions. There you go. Assets land in your Phantom wallet.
Centralised Exchanges: A Safer Route for Beginners
For those wary of decentralised tools, CEXs like OKX offer a custodial bridge. Here’s how:
- Deposit ETH into OKX.
- Navigate to “Cross-Chain Swap.”
- Select Solana as the destination.
- Withdraw tokens to your Phantom wallet.
While easier, this method requires KYC checks and slightly higher fees.
Risks? Stay Alert
Bridges remain prime hacker targets. In 2022, Wormhole lost $325 million in a breach. To minimise risks:
- Audit Platforms: Use bridges like Portal with proven security.
- Test Small: Send a trial amount first.
- Double-Check Addresses: A typo could doom your funds.
Final Tips for Smooth Sailing
Solana’s ecosystem rewards the bold. Start with stablecoins like USDC to explore DeFi pools or NFT marketplaces stress-free. As adoption grows, bridging becomes less a luxury and more a necessity. Ready to dive in? Your Solana journey starts with one click.
Written By Fazal Ul Vahab C H


